DaisyUI ❤️ Tailwind
A quick look at using DaisyUI with Tailwind to move faster without hand-rolling every component.


What you’ll learn
- How DaisyUI fits on top of Tailwind.
- How to install the library in a frontend project.
- Why component libraries can speed up small UI builds.
To see how to quickly get up and running with Nuxt and Tailwind, the post on that here.
On top of Tailwind CSS, I like to use a component library to further speed up the front-end development in Nuxt (works with other Javascript frameworks as well). Right now, I prefer DaisyUI as it goes very well together with Tailwind and is relatively minimal. The benefit of using a component library is that you get a lot of components that are ready to be used instantly.
Install DaisyUI Docs here
npm i -D daisyui@latest
Then add the plugin to Tailwind (if you don’t already have a Tailwind config file, create it manually or run “npx tailwindcss init –ts” in the terminal).
This is how your Tailwind config file should look after you’ve added the plugin:
//tailwind.config.ts
import type { Config } from 'tailwindcss'

export default {
  content: [],
  theme: {
    extend: {},
  },
  plugins: [require("daisyui")],
} satisfies Config
You’ll need to restart the dev environment to see the changes.
If you’re having issues, you can see the Nuxt example repository here: Stackblitz Nuxt+DaisyUI repository.
Now you can go ahead and use the components. For example, say you want a nice spinner/loader while you’re fetching data:


It’s as easy as using the spinner component:
<span class="loading loading-spinner loading-lg" v-if="searching"></span>
(if you want to see how to use icons such as the magnifying glass easily in your project, see the bottom of this post)
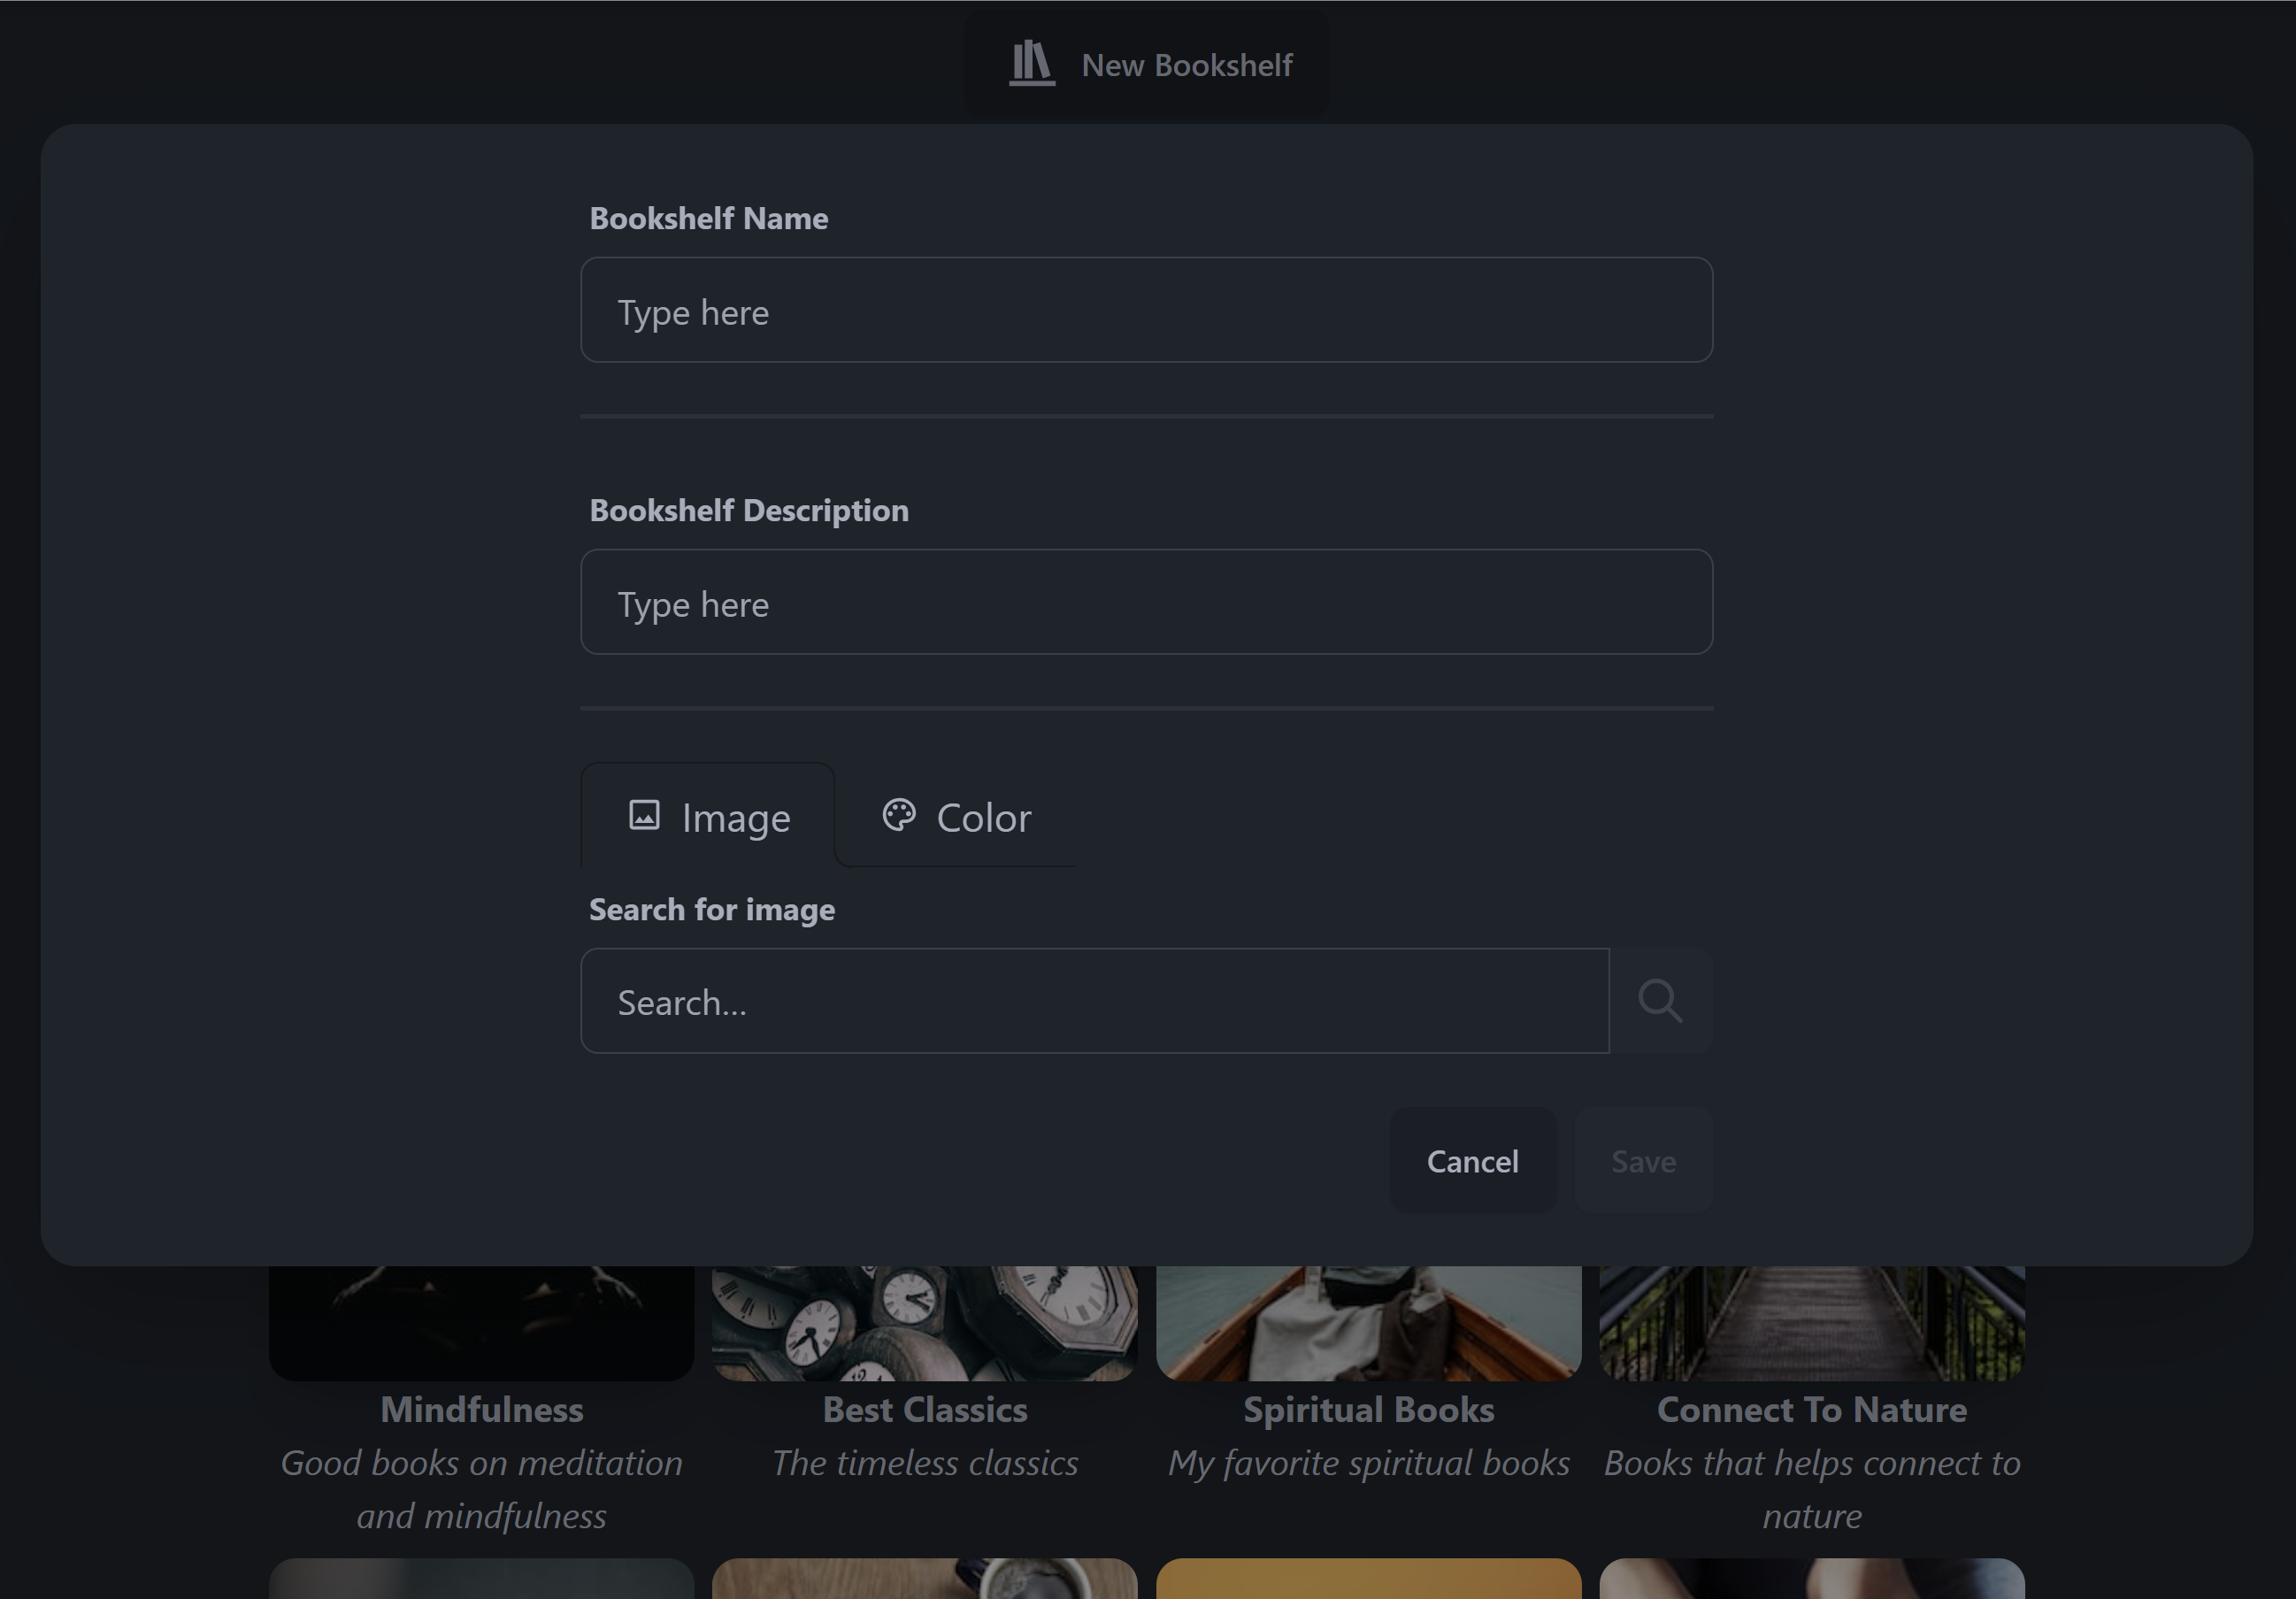
Another convenient module is the modal:
To explore all components, see: DaisyUI Components
To further supercharge your front-end development, you can go ahead and add the Nuxt Icon module which let’s you use thousands of icons from within your code editor. Nuxt Icon
pnpm install --save-dev nuxt-icon
//nuxt.config.ts
export default defineNuxtConfig({
  devtools: { enabled: true },
  modules: ["@nuxtjs/tailwindcss", "nuxt-icon"],
});
Now you can choose any icons from here: https://icones.js.org/
If you use the VS Code Iconify IntelliSense extension you will see the icon within the editor.
To use the magnifying icon used earlier in this post, for example:
<Icon v-if="!searching" size="2em" name="mdi:book-search-outline" />